How Playing Cards Are Printed and Customized Complete Guide
Recent Posts
-
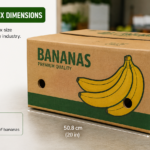 What Are the Standard Dimensions... June 22, 2026
 -
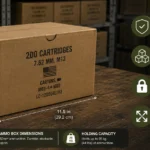 Why Ammo Boxes Dimensions Matter... June 18, 2026
 -
 Why Face Cards Matter: A... June 9, 2026
Playing cards are specialized pieces of heavy-duty paper or thin plastic that are used as tools for games, magic, and cardistry. Many people recognize a deck of cards just as a tool for a game but actually they are a canvas for artistry, branding, and innovation. Basically every iconic deck starts as a creative sandbox that allows designers to showcase their artwork, implement interactive features, and deliver a memorable experience. And this is a complex journey that starts from raw pulping and ends at high-precision playing card printing. So if you want to transform your simple sheet of paper into a professional-grade deck, then read further. This blog is a complete guide to playing card printing and customization.
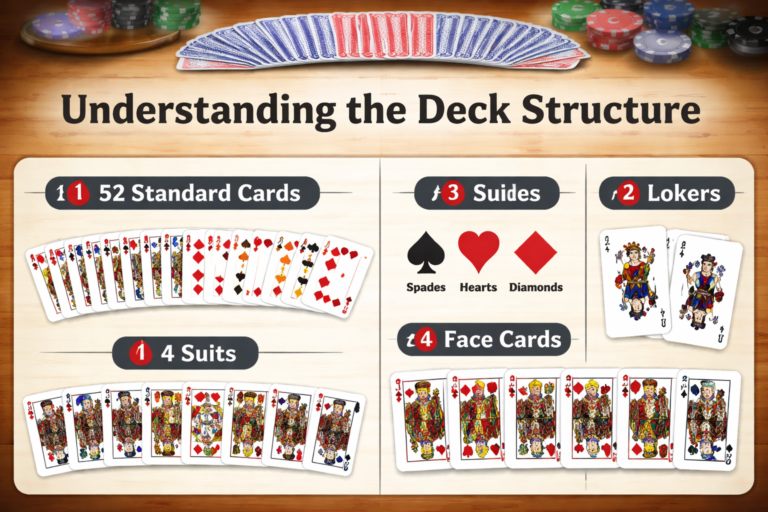
Understanding the deck structure
When you’re producing high-end print on a deck of cards, you have to be careful because one technical mistake can result in misalignment, color inconsistency, dull edges, and you might have to start all over again. Therefore, knowing what is the dimension of playing card and structure is important as it is the “skeleton” that supports the art.
Most decks comprises of the following features:
- A standard deck has 52 cards plus jokers, used for poker, bridge, and other traditional games.
- There are two primary sizes used in the industry. Poker size and Bridge size. The dimensions of a poker size card is 2.5″ x 3.5″ whereas the bridge card measures 2.25″ x 3.5″.
- A professional playing card is a multi-ply laminate consisting of three distinct parts. The top layer where the suits and values are printed. The internal core, an adhesive layer that bonds the two outer layers. The bottom layer that features the brand’s artwork.
Remember when creating a custom deck of cards, you can adjust the number of cards, layout, and design style to suit your purpose.
Choosing the right material and paper stock
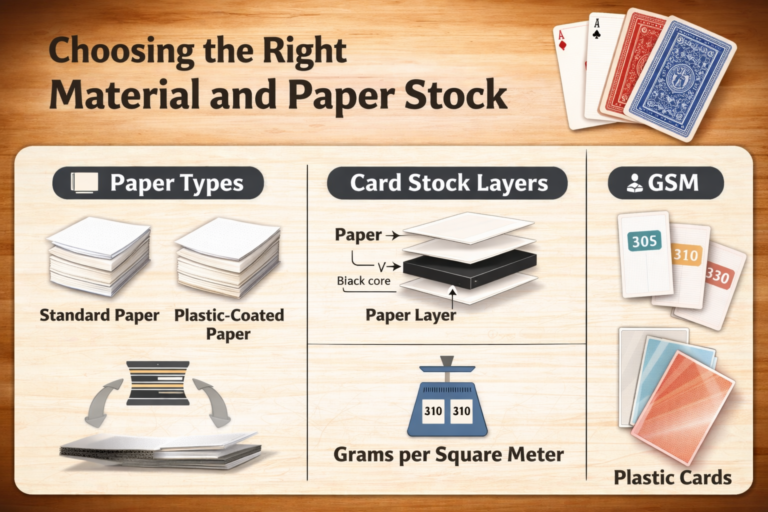
Before you print a deck of cards you have to be highly vigilant about the card stock that you choose. Because the material affects the feel, durability, and shuffling quality of your cards. For instance if you pick a low-grade paperboard, it will split at the edges or lose its memory just after a few games. Moreover, in the world of high-end printing, the “hand feel” of a product is just as important as the visual design. So everything hinges on the cardstock when printing playing cards. Therefore, it is best to opt for a 300 – 330 GSM heavy-duty paper. And make sure to cover your deck in a thin layer of plastic. Using a thin polymer coating provides moisture resistance and increases the lifespan of your cards.
Designing a deck of 52 playing cards
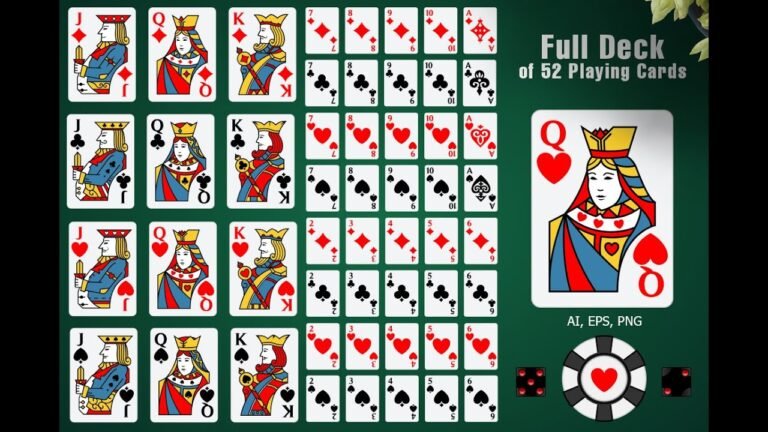
Once the foundation of cardstock is settled, the real transformation begins. It’s the design phase where playing cards gain their personality. This means it’s time to turn a stack of paper into a high-end branding tool or a collector’s item.
First comes the ‘faces’ of the cards. It is that side where you print values, court cards (Jack, Queen, King) and French-suited pips (Spades, Hearts, Diamonds, and Clubs). You can fully customize these pips and indices to match a specific theme for branding. Like Art Deco, Fantasy & Sci-Fi, Victorian Vintage, or Minimalist designs. The next part of the design phase is the back design of the deck. The back of the card is the most visible part of the deck during play. It should be designed in a symmetrical pattern. No matter which way you rotate the card, the design should be identical. This is essential to prevent marked card cheating in a serious professional play.
You can use software like Adobe Illustrator or Photoshop to create professional card layouts and artistic artwork.
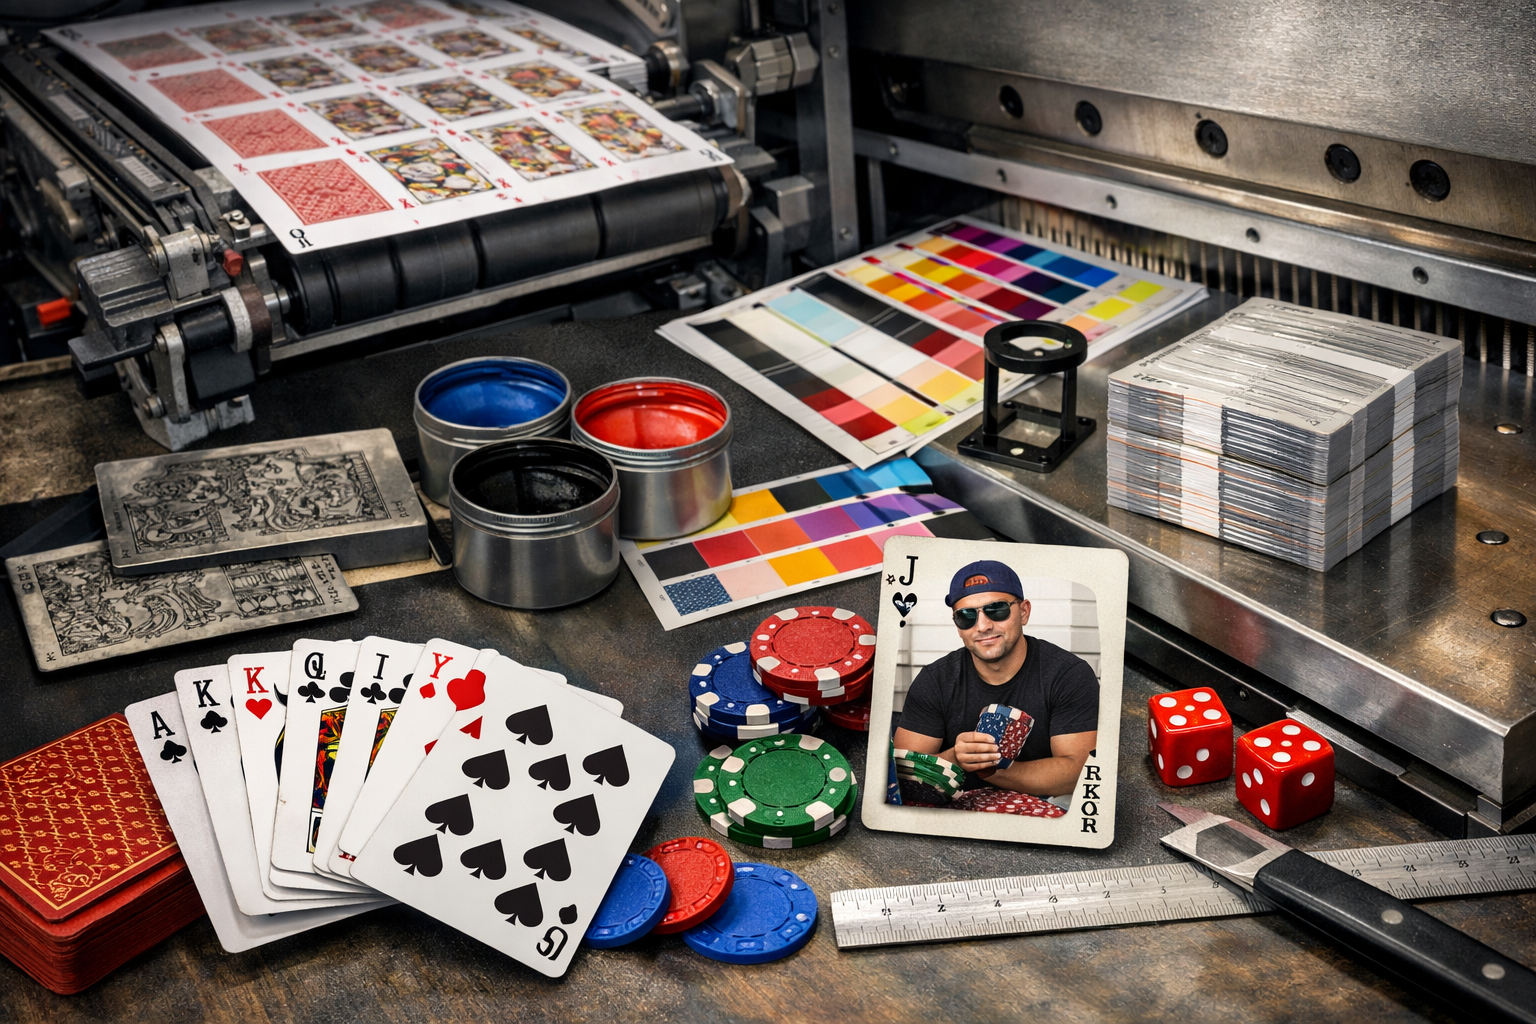
The technical process of playing card printing
Now that the cardstock is done and the digital file of artwork is finalized, it’s time for playing card printing. But before the first drop of ink touches the paper, the digital files must undergo a rigorous ‘Pre-Press’ phase. Press-press phase is the ‘safety net’ where symmetry and alignment of cards is ensured for a professional look.
The first step of this phase is checking the compatibility of digital files with industrial software. Therefore, all images are verified at 300 DPI or higher. Any file less than 300 DPI is not processed for printing. Next is the color mode conversion to CMYK or PMS because most of the files are designed in RGB screen color. RGB files often result in color inaccuracy, that’s why conversion to the correct model is necessary.
Playing cards are not printed one by one. They are printed on massive sheets called Parent Sheets. In pre-press technicians arrange 54 cards in a specific grid to ensure maximum efficiency and correct alignment during the cutting phase. And for perfect cutting a standard bleed of 3mm is marked to prevent unsightly white edges if the cut shifts slightly. Once everything is done in a pre-press phase, the next step is how to print playing cards.
Playing card printing is a very easy procedure. There are several methods to print a deck of cards effectively but the industry uses two methods. Offset printing and Digital printing.
Digital Printing

Digital printing is a traditional printing method that is most commonly used for short-run orders. This method offers durable printing results with sharp detailing to intricate designs. Although it is ideal for short-run orders, it is still quite efficient in terms of speed. This is a plate-less method where your artwork on a digital file is directly transferred to playing card stock with the help of a toner. If you want your deck of cards printed in a short time, then this method will prove to be ideal for you.
Offset Printing
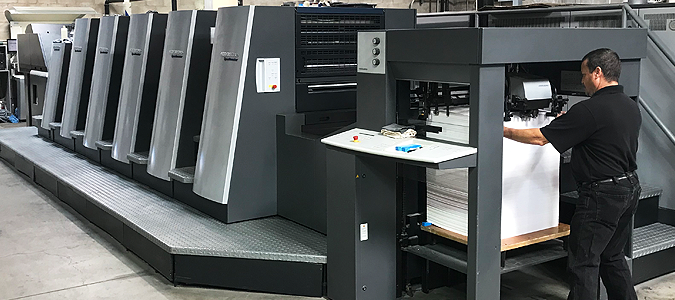
Also known as Lithography, this technique is quite flexible and affordable. Lithography is one of the most commonly used printing techniques for playing cards. This technique is performed by using a four-color technique. It is the most suitable method to print large-volume orders. In this method, inked images are transferred from metal plates to a rubber blanket and finally onto the printing surface. It is also used to print playing cards with different types of finishes and coating options.
To add visual interest and elevate the premium value of playing cards, you can also use embossing, foil stamping, and holographic foiling for playing card printing. A professional custom card manufacturer like Boxit Packages can guide you on the best technique depending on your budget, quantity, and design complexity for your playing cards and their custom printed packaging boxes.
Conclusion
Now that you know how to print your own playing cards, just remember one thing. Creating a custom deck of playing cards is a journey of precision, where the smallest choice, be it the material selection or printing technique, every decision you make defines the final user experience. Therefore, always partner with professional card deck printing services like Boxit Packages to ensure your cards are visually stunning, durable, and commercially ready.
.jpg)