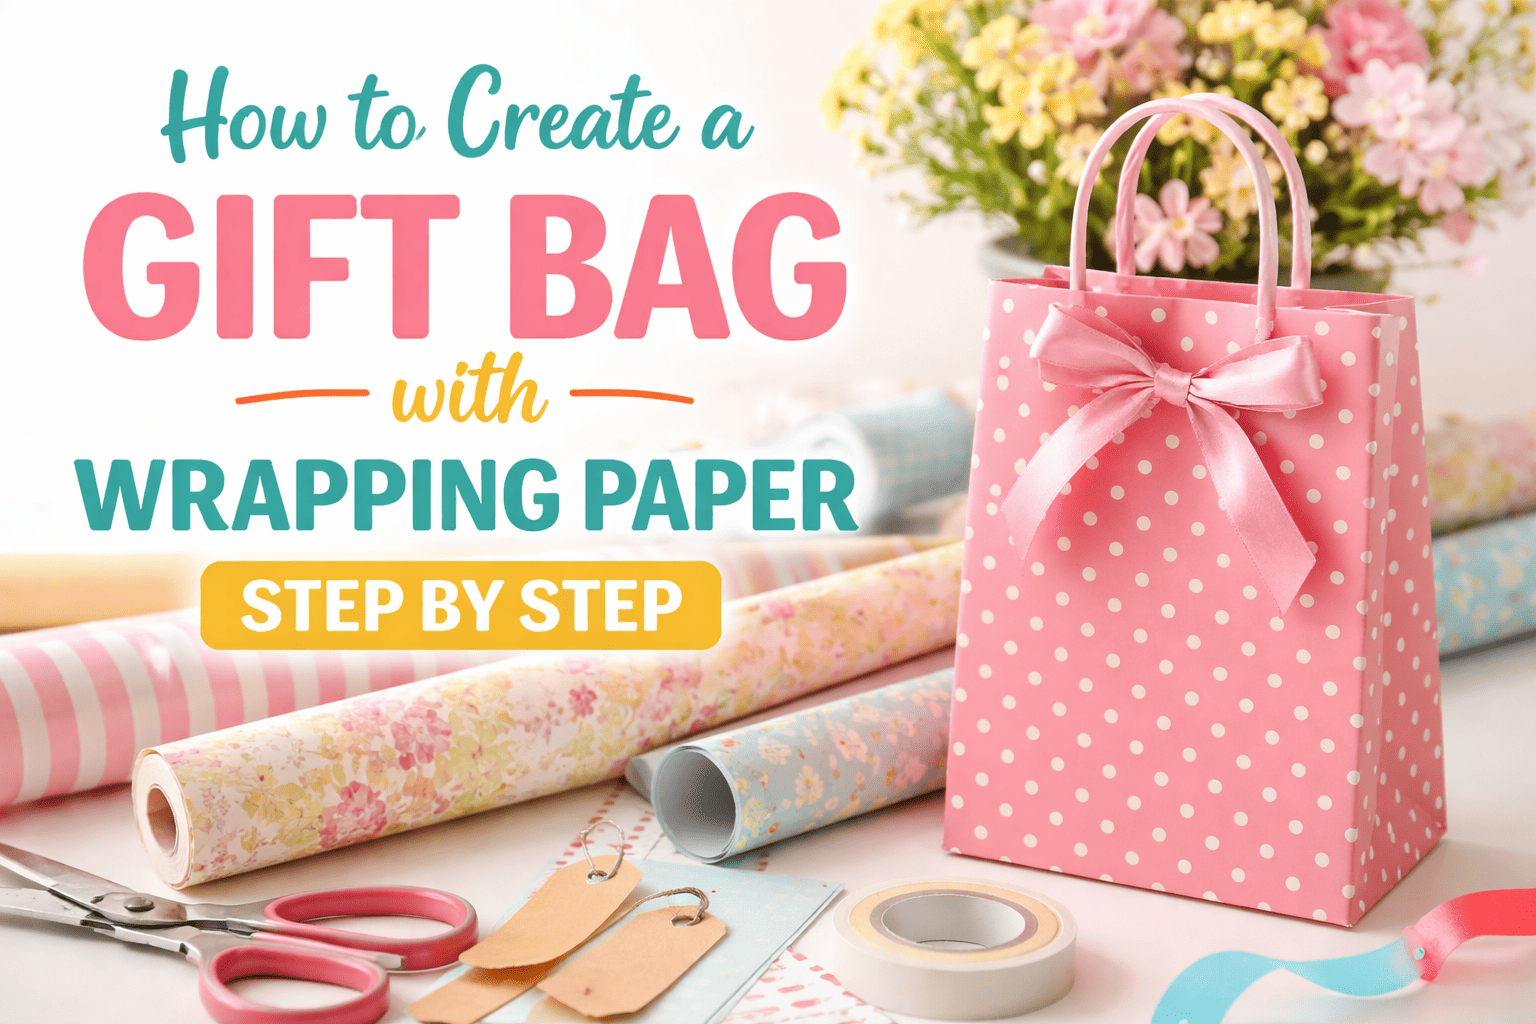
How to Create a Gift Bag with Wrapping Paper Step by Step
Recent Posts
-
 Everything to Know About Manila... March 31, 2026
 -
 Mushroom Chocolate Packaging Guide for... March 30, 2026
 -
 What Is the Standard Shoe... March 26, 2026
Did you know that your leftover wrapping paper scraps are actually custom gift bags waiting to happen? Yes, now you don’t need to spend $6 on a single-use gift bag. Just learn how to create a gift bag from wrapping paper and save your wallet and the planet. This is a less than five-minute process that will give you a professional-looking gift bag. So read this blog and learn how to measure, fold, and reinforce a custom bag using the roll of wrapping paper you have in the closet.
Materials you’ll need to Create Gift Bag from Wrapping Paper
You can save your trip to the stationery store because materials that you need for making a bag out of gift wrap are all available at home. Just grab these five items before you sit to craft enticing bags. Otherwise, you’ll have to get up again and again, which will stall the whole DIY process.
- Wrapping Paper (Preferably a thick-quality paper works best)
- Clear Tape or Double-sided Tape
- Ruler
- Scissors
- Ribbon or Twine (for handles)
- Hole Punch (optional)
Expert Tip:
If you are wrapping something slightly heavier (like a large candle or a glass jar), grab one more item. A small piece of thin cardboard or a heavy cardstock scrap. Placing this inside the bottom of your finished bag adds a “floor” that prevents the gift from sagging or breaking through the paper.
A Step-By-Step Guide for Turning Paper into a Bag
You must still be wondering how I make a bag out of wrapping paper, ribbon, and tape. Well, don’t get confused, it’s a simple 5-step process. Just follow every guideline as mentioned, and you’ll have charming gift bags for your loved ones.
Measure and Cut Your Paper
Form the Base of Your Bag
This is the actual part that needs attention and hard work because once you tape the wrapper paper to create a bag, it’s reversible. If you have a large-sized gift item, then you need a wider base, for which you need to fold the bottom as high as possible. Fold the left and right edges of the bottom side in and seal the edges with the tape, and repeat this same step for the top, and secure the sides with tape as well.
Place the Gift Inside
Review time! Put the gift inside to verify the size is correct. If the bag is larger than the item, do not panic. You can still fix it, just cut a few inches from the top. You can add cotton balls inside to provide cushioning to the gift if it’s something like a frame.
Punch Holes to Make a Handle
Definitely, a gift bag is incomplete without a handle, so the next step is to punch holes at the top of the bag. The standard distance is to leave a 2″ space from the top and make holes with a punch machine. You can use a satin ribbon, cotton rope, jute twine, or twisted paper cords to make your handles. You can also skip this step if you don’t want the handles.
Insert the Gift and Finish the Top
Now, carefully slide your gift inside, fold the top over twice, and seal with a sticker or tape. However, if your gift bags have punched ribbon, there’s no need to tap.
Benefits of Creating Your Own DIY Gift Bag
Usually, people look for deals when the best packaging boxes wholesale are available at discounted rates. This saves the money spent on expensive gift bags. But now that you have learned how to make a bag from wrapping paper, you’ll never have to buy store-bought again or wait for the promotion! This will save you $6 every time you buy a gift for your loved ones. Beyond saving money, mastering the DIY gift bag offers several long-term perks. Such as:
Sustainability
The biggest dilemma of store-bought gift bags is that they are non-recyclable. These bags are coated with a plastic film or glitter, which is hard to separate from the paper and can contaminate the recycling stream. When you reuse your wrapping sheets made of FSC-certified paper, you are participating in a more circular economy. In short, it is a great way to reduce waste.
Total Customization
When you buy a gift bag from the store, you will see that it’s a simple bag with a threaded handle. But when you customize your own bag, the creativity is totally in your hands. You can add die-cut stickers, colorful pom poms, grosgrain textured ribbons, and personalized name tags to make the bags visually appealing.
Smart Storage
This is an evident fact that a drawer or closet with wrapping papers is a total mess. Rolls of wrapping paper take up significantly less vertical space than a stack of bulky, rigid gift boxes. By utilizing the papers, you clean up the mess and use the storage space for other purposes.
Wrapping it up!
Now that you’ve mastered the basic fold, don’t be afraid to experiment! Try using different textures of paper, adding ribbon handles, or even layering tissue paper for a pop of color at the top. With just a few folds and a little bit of tape, you can create a gift bag from wrapping paper that’s almost as special as the gift inside. However, if you still find this an impossible task, then we can provide you with beautiful and visually appealing gift bags for your gifts. Boxit Packages, the best packaging boxes wholesale company in town, offers captivating, eco-friendly, and affordable bags. Order to get them today!
.jpg)
